How to Recharge Car AC Yourself
If the air coming from your vents isn’t as cold as it once was, chances are your A/C system has lost some refrigerant over time due to tiny leaks in the lines. When this happens, the performance of your air conditioner drops noticeably. The solution is simple — recharging the air conditioning system. From my own experience, this task is among the easiest vehicle maintenance routines, and with the right approach, it can be done inexpensive, taking only a few minutes. However, doing it incorrectly may lead to problems, so it’s important to follow each step with care.
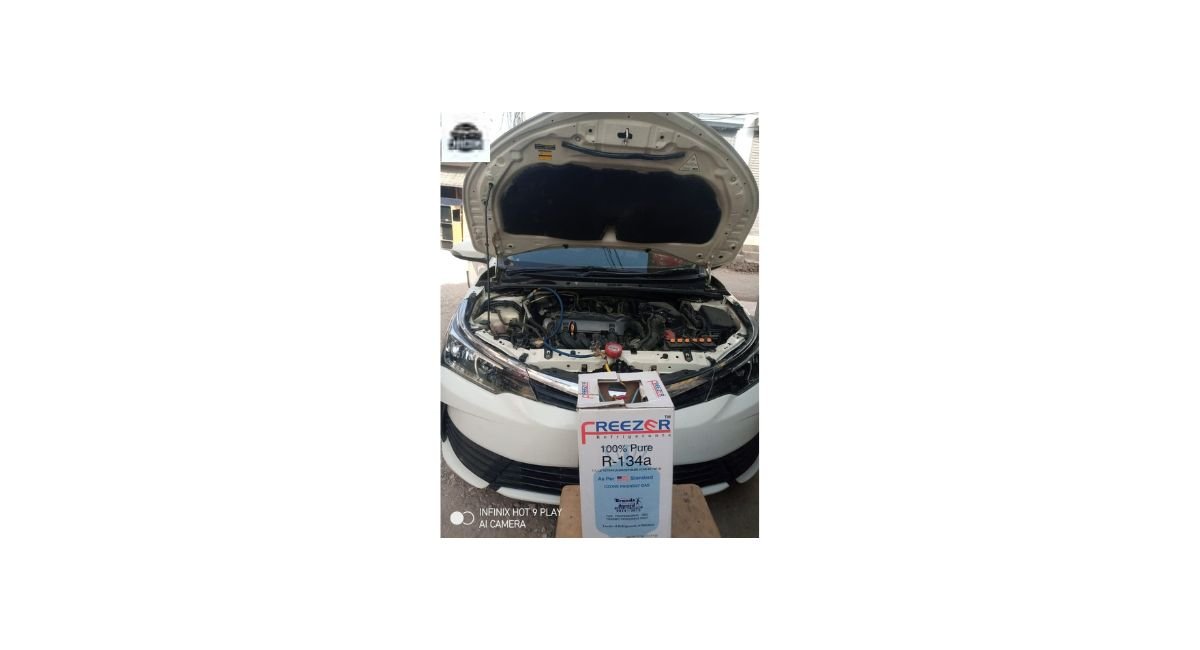
To begin, connect a can of refrigerant 134a (also labeled r-134a) to the low-pressure port of your A/C system. Keep the engine running and the air on its coldest setting. Gradually add the refrigerant until the air blowing from the vents feels icy cold. The whole process costs about 25–35 dollars and takes roughly 15 minutes of your time. Once done, you’ll enjoy that refreshing air again, making your car cool and comfortable on every drive.
Materials You’ll Need for a Safe Car AC Recharge.
Before you recharge your car air conditioning, make sure you have all the right tools and supplies for a safe and effective process. From my personal experience, gathering the proper items before starting your AC recharge can save time and prevent damage to your vehicle. Always check your service manual first to confirm the correct refrigerant type for your car’s AC system.
AC Recharge Kit
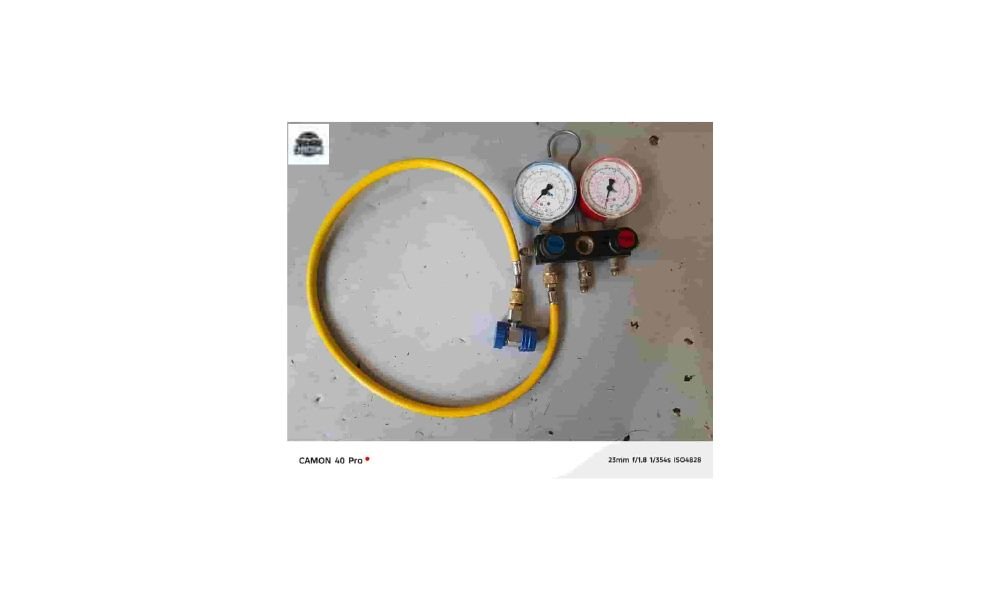
You’ll need an AC Recharge Kit, which usually includes the hose, gauge, and refrigerant. Always verify your vehicle’s service manual to ensure compatibility before starting.
Safety Gloves
Wearing Safety Gloves is essential to protect your hands from accidental contact with refrigerants or other chemicals during the process.
Safety Goggles
Use Safety Goggles to keep your eyes protected from any splashes or debris that might occur while you recharge the system.
Clean Rag
A Clean Rag helps in cleaning the area around the low-pressure service port before making a connection to avoid contamination.
Thermometer (Optional)
A Thermometer is useful for checking the temperature of the air blowing through the vents, making sure the cooling is efficient after recharging.
UV Dye (Optional)
If included in your recharge kit, UV Dye can help detect leaks in the AC system once the recharge is complete.
With these materials ready, the process becomes much smoother and ensures your car’s AC system performs at its best.
How to Recharge Your Car AC System (Step by Step)
Step 1: Choose the Right Location and Setup
Before you begin to recharge your AC, find a proper location that is outside or in a well-ventilated area to avoid the harmful buildup of refrigerant gases. In my experience, doing this simple task in a clear and open area makes the process much safer and easier. Always check the ambient air temperature before starting — it should be above 55°F, as anything below that can affect pressure readings, leading to undercharge or overcharge situations. An undercharge results in poor cooling performance, while overcharging might cause damage to the AC system.
Keep your tools close and ensure your surroundings are free from obstacles so you can move easily while you recharge. I usually recommend doing this before the warmer months start, giving your car the best cooling performance for summer travel without feeling the heat. A little preparation at the right temperature and settings makes all the difference in how well your AC performs afterward.
Step 2: Open the Hood and Find the Low-Pressure Port
Once your car is prepared and parked in a suitable location, open the hood carefully. It’s important to locate the AC compressor, usually found at the front of the engine. Look for a larger diameter hose leading toward the compressor; that’s where the low-pressure service port is located. The low-pressure port is generally connected to the line running from the expansion valve to the compressor, also known as the suction line. The port will have a cap that’s often labeled with an L or the words low pressure. These caps are usually blue or black and might also display a warning label, so remove them carefully, as some may be secured tightly.
Be cautious not to touch any unrelated components inside the engine bay while locating the correct port. If you have trouble spotting it, check your vehicle service manual or the diagram under the hood, which typically shows all AC system components. Taking this extra step ensures accuracy and helps avoid connecting the low-pressure port incorrectly — a common mistake when doing an AC recharge for the first time.
Step 3: Clean the Area Properly
Before connecting the recharge kit to your car AC system, it’s essential to clean the service port area thoroughly. This helps prevent contaminating the refrigerant with dust, debris, or oils, which can cause inefficient performance. Take a clean rag and remove any oil, grime, or buildup that may have accumulated over time. Make sure the low-pressure service port, surrounding hoses, and fittings are spotless. You should also clean the area around the compressor and condenser to ensure a smooth connection during the process.
Keeping everything clean helps stop unwanted particles from entering the refrigerant lines, which can lead to leaks or malfunctions later. For safety, always ensure the vehicle is turned off and the key is removed before cleaning the engine bay. This step not only prevents electrical shocks but also reduces the risk of injuries from moving parts. A properly cleaned system makes the connection more secure and keeps your AC system running efficiently.
Step 4: Connect the Recharge Kit Correctly
After locating the low-pressure service port and making sure the area is cleaned, it’s time to connect the recharge kit to your car AC system. Align the hose connector with the port, then attach the hose firmly until it snaps into place without any gaps. A proper connection ensures that the refrigerant flows smoothly into the system. Always double-check that the fitting is tight so no air can escape and no refrigerant can leak out.
Once the charging lines are connected, slightly loosen the knob near the refrigerant can to release the trapped air from the charging hoses. This prevents moisture, dust, or debris from entering the system, ensuring that only pure refrigerant is recharged.
If the connection isn’t secure, the refrigerant may not flow properly, causing uneven cooling. Take a moment to make sure everything is connected correctly before proceeding. Doing this small check will save you time and hassle down the road, ensuring your car’s AC system performs efficiently throughout the summer.
Step 5: Reading and Understanding the Pressure Gauge
Before adding refrigerant, it’s important to assess your pressure gauge properly. The gauge readings are usually shown in psi (pounds per square inch), which tells you how much pressure is inside your AC system. In most cars, the normal range lies between 25 and 45 psi, depending on the ambient temperature and the car’s specifications. If your pressure readings fall below this range, it’s a clear sign that your car’s AC needs a recharge. However, an unstable gauge that fluctuates significantly can also point to hidden leaks or poor AC performance, which should be addressed before moving forward.
If your pressure level stays adequate, there’s no need to add refrigerant, as the issue might be something else affecting your AC performance. From experience, consulting a trusted expert like CarAcGuro can save time by identifying the real problem. This check not only prevents low-pressure issues but also ensures your vehicle stays cool and efficient during hot weather.
Also, remember that if the pressure appears too low, it’s not always due to low refrigerant levels—sometimes a clogged expansion valve or a blocked receiver drier could be the real cause. Similarly, if the pressure is too high, it may indicate a weak compressor, a choked condenser, or a non-functioning condenser fan.
Step 6: Safely Add the Refrigerant
When the gauge indicates that your AC needs a recharge, start the process with your car running and the air conditioning set to maximum cooling. This allows the refrigerant to circulate efficiently through the system. Connect the charging hose to the low-pressure service port, keeping the can positioned upright so that only gas state refrigerant enters the air conditioning system. Turning the can upside down could cause liquid refrigerant to flow in, leading to potential damage.
As you refill, release the refrigerant in short bursts rather than in a continuous flow. This helps you control the maximum pressure and avoid overfilling, which may create excessive pressure, result in compressor failure, or damage internal components of the AC system. Always keep your eye on the pressure reading, ensuring it stays within the recommended range shown on the gauge.
To verify the effectiveness of your work, use a thermometer and place it near the vent to observe the air temperature. After the refrigerant is added, you should notice a clear temperature drop from the vents — ideally between 35°F and 55°F (or 1.6°C to 12.8°C). This range confirms the system has been successfully recharged, and your car’s AC should now deliver cool, refreshing air once again. If a thermometer is not available, you can still check manually by touching the suction line on the expansion valve side near the charging socket. When that section of the suction line feels cold and covered with moisture — like the surface of a chilled glass of cold drink — while the engine is idling and the blower motor is running at full speed, it means the gas has been completely charged.
Before finalizing, slightly loosen the valve near the refrigerant can to bleed out trapped air from the charging hose. This small but essential step ensures that no outside moisture or dust enters the system, guaranteeing that only pure gas is used for the recharge and keeping the AC system in optimal condition.
Step 7: Disconnect and Store the Charging Hose Properly
After you’ve refilled your car’s refrigerant, it’s time to remove the charging hose from the port. Keep the engine running and the AC on high while you unscrew the hose carefully from the connection to avoid refrigerant escape. Make sure the hose is fully detached before turning off the engine. This step ensures that the system stays sealed and prevents any accidental loss of refrigerant during disconnection.
Once removed, store the charging hose in a cool, dry place, away from direct sunlight or damp areas. Exposure to moisture can cause deterioration of the hose and its fittings over time. Proper storing of your tools not only protects them but also keeps them ready for future maintenance tasks, making your next DIY car AC recharge smoother and safer.
Step 8: Ensure the Service Cap is Properly Sealed
The last step is to seal the low-pressure service port with its cap. Here are the steps you must take to seal the service cap correctly:
Inspect the Cap: Look for any visible cracks or wear on the cap. A damaged cap can lead to refrigerant leaks.
Check the Seal: Ensure the rubber seal under the cap is intact. If it’s cracked or missing, it may need replacing.
Tighten the Cap: Ensure the cap is securely fastened to the port. A loose cap can allow refrigerant to escape. Be careful not to overtighten it, as this can damage the cap.
If you find any issues with the cap, you can replace it by purchasing a compatible one at an auto parts store. Using an intact cap can help maintain the correct pressure in your AC system and reduce the chance of needing another refill soon.
Stay Cool by Mastering Car AC Recharge Basics
Knowing how to recharge your car AC is a valuable skill that can save time and money while keeping you comfortable during hot summer drives. Even though DIY methods are simple, having access to trusted auto repair facilities or expert help ensures better results when needed. Services like CarAcGuro provide quick professional assistance through reliable repair facilities, giving you confidence that your AC system is well maintained and ready to handle the heat.
FAQs About How to Recharge Car AC
Let’s answer some common questions about recharging a car’s AC system.
What if the recharge doesn’t last?
If your car AC recharge doesn’t last more than a few days or weeks, it usually means there’s a leak in the system. Small leaks in hoses, seals, or the condenser can cause refrigerant loss over time. You can add a UV dye during the car AC recharge to detect leaks easily. If the problem continues, it’s best to visit a professional technician to inspect and repair the leak before doing another recharge.
—
Can Freon still be used as a refrigerant?
No, Freon (R-12) is no longer used in modern vehicles because it’s harmful to the environment. Most cars today use R-134a or R-1234yf refrigerants instead. When performing a car AC recharge, always check your vehicle’s service manual to confirm which type of refrigerant your system requires. Using the wrong refrigerant can damage the compressor or reduce cooling efficiency.
—
How much does it cost to recharge a car AC unit?
The cost of a car AC recharge depends on whether you do it yourself or visit a workshop. A DIY recharge using an R-134a kit usually costs around $25 to $35, while a professional recharge at an auto service center can range between $100 to $250, depending on the car model and refrigerant type. Doing it yourself saves money if there are no major leaks.
—
What are the steps to recharge a car AC?
To perform a car AC recharge, follow these simple steps:
1. Park your car in a ventilated area and open the hood.
2. Locate the low-pressure port on your AC system.
3. Clean the port and attach the recharge kit hose.
4. Start the engine and turn the AC to maximum cooling.
5. Add R-134a refrigerant in short bursts while monitoring pressure.
6. Disconnect the hose and seal the port with its cap.
After completing these steps, your car AC recharge should restore cold air efficiently.
—
How long to pull a vacuum on a car AC system?
When doing a full car AC recharge after system repair or replacement, you should pull a vacuum for at least 30 to 45 minutes. This process removes air, moisture, and contaminants from the system before adding refrigerant. A proper vacuum ensures better cooling performance and prevents internal corrosion or freezing.
—
What happens if you don’t pull a vacuum on an AC system?
Skipping the vacuum step during a car AC recharge can cause serious problems. Moisture and air trapped in the system may freeze, blocking refrigerant flow and reducing cooling efficiency. It can also corrode internal components and shorten the compressor’s life. Always pull a vacuum before refilling to ensure your AC works smoothly.
—
What should the high and low side pressures be for R134a?
During a car AC recharge with R-134a refrigerant, the pressure readings depend on the surrounding temperature. Generally, the low side pressure should be between 25–45 psi, and the high side pressure should range from 200–250 psi when the system is running. Keeping the readings within this range ensures efficient cooling and prevents overcharging.
